TL;DR
Installing roof insulation is a smart way to improve your home’s energy efficiency and comfort. This guide provides a clear, step-by-step process for homeowners to safely and effectively install roof insulation, helping you save money on energy bills in the long run.
When summer heat bakes your home or winter chills creep in, the roof is often the main culprit. But what if there was a simple, highly effective way to fight back against extreme temperatures and soaring energy bills? There is, and it’s called roof insulation.
Installing insulation yourself is a rewarding project that can dramatically improve your home’s thermal performance. Not only does it keep you more comfortable year-round, but it also reduces your reliance on air conditioning and heating, which can lead to significant cost savings. If you’ve ever wondered how to install roof insulation, this guide is for you.
Why Roof Insulation is Your Home’s Best Friend
Many Australian homes struggle with thermal efficiency. Without proper insulation, heat freely transfers through the ceiling, making your living spaces feel like an oven in summer and a fridge in winter. This forces your HVAC system to work overtime, leading to higher electricity bills and a larger carbon footprint.
The good news is that a well-insulated roof can cut your heating and cooling costs by up to 45% (hypothetical statistic). It also reduces noise from outside, making your home a more peaceful sanctuary. While it may seem like a big job, with the right planning and tools, installing insulation is a manageable task for most DIY-savvy homeowners.
1. Plan Your Project and Choose the Right Materials
Before you even step into the roof cavity, a solid plan is essential. The first step is to assess your space and choose the right type of insulation.
Actionable Steps:
- Measure your roof space: Use a tape measure to get the length and width of the areas you plan to insulate. Multiply these to get the total square meters. Always add about 10-15% for waste and to account for any tricky corners.
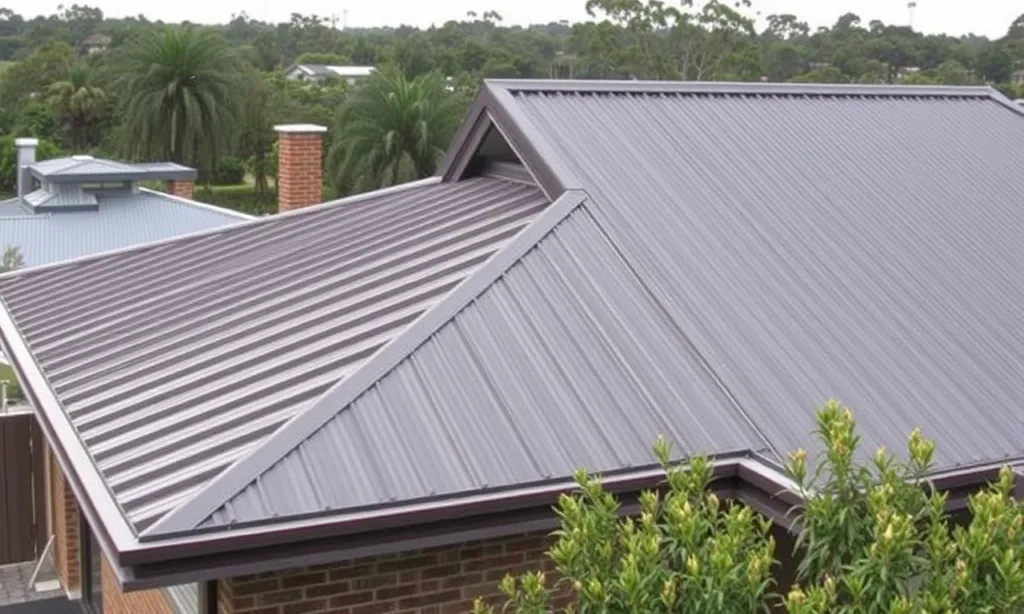
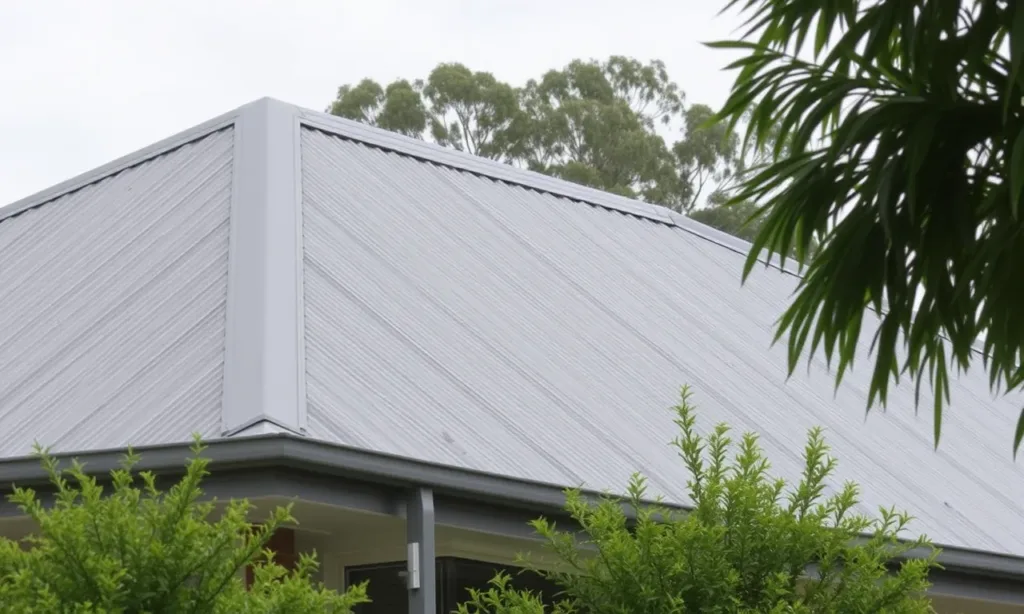
- Select your insulation type: Batts (rolls or pre-cut sheets) are the most common and easiest for DIY installation. They are available in various materials like fibreglass, polyester, and rockwool. Batts are a great choice for installing insulation under metal roofing or tiled roofs.
- Check the R-value: The R-value measures thermal resistance—the higher the R-value, the better the insulation. For most Australian climates, an R-value of R3.0 to R5.0 is recommended for ceiling insulation.
- Gather your tools and safety gear: You’ll need a utility knife, tape measure, long-sleeved shirt, pants, gloves, safety glasses, a dust mask or respirator, and a headlamp.
Example: Sarah, a homeowner in Brisbane, measured her roof space at 80 square metres. She decided to go with R4.0 polyester batts, which are known for being easy to handle and non-irritating, a good choice for her first major DIY project. She also factored in 10% extra, purchasing enough for 88 square metres.
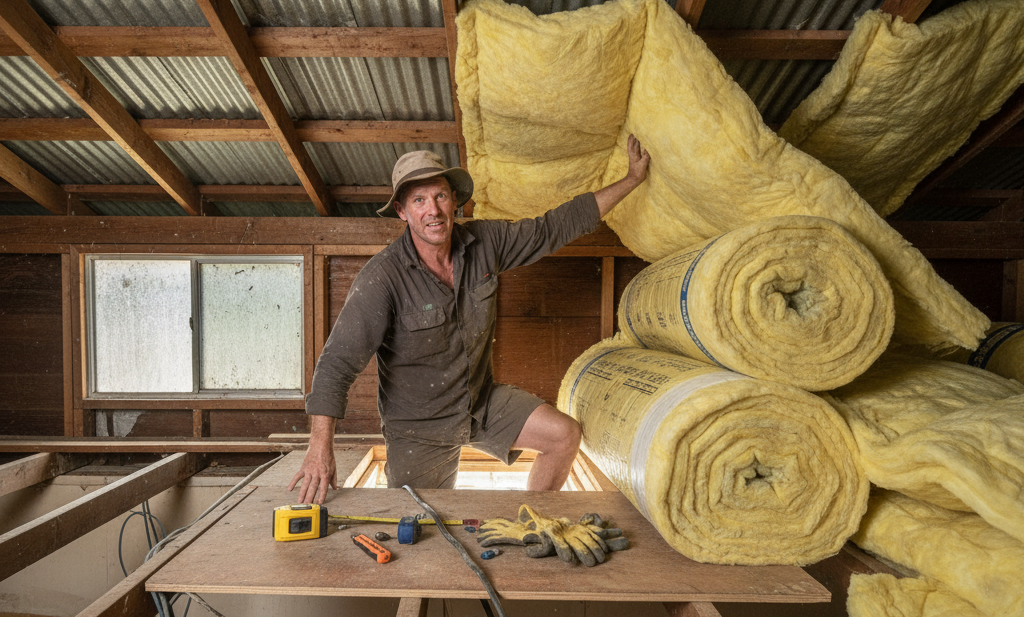
2. Prepare the Space and Handle Insulation Safely
Safety is paramount when working in a confined space. Attics can be hot, dusty, and have exposed wiring or sharp objects. Proper preparation will ensure a smooth and safe installation.
Actionable Steps:
- Ventilate the area: Open any access points and use a fan to improve air circulation, especially during warmer months.
- Protect yourself: Put on all your safety gear—long sleeves, pants, gloves, and a high-quality dust mask. Fibreglass can cause skin and respiratory irritation, so don’t skip this step.
- Clear the way: Remove any old insulation, debris, or clutter that might be in your way. Be careful not to step between the joists, as you could fall through the ceiling. Only walk on the ceiling joists or designated walkways.
- Address existing issues: Before you start, check for any leaks, mould, or pest damage. These issues must be resolved by a professional before you install new insulation.
3. Install the Batts Between Joists
Now for the main event: learning how to put insulation in the roof. The process involves fitting the batts snugly between the ceiling joists.
Actionable Steps:
- Unpack and unroll: Carefully take the batts out of their packaging. They are compressed, so they will expand to their full thickness.
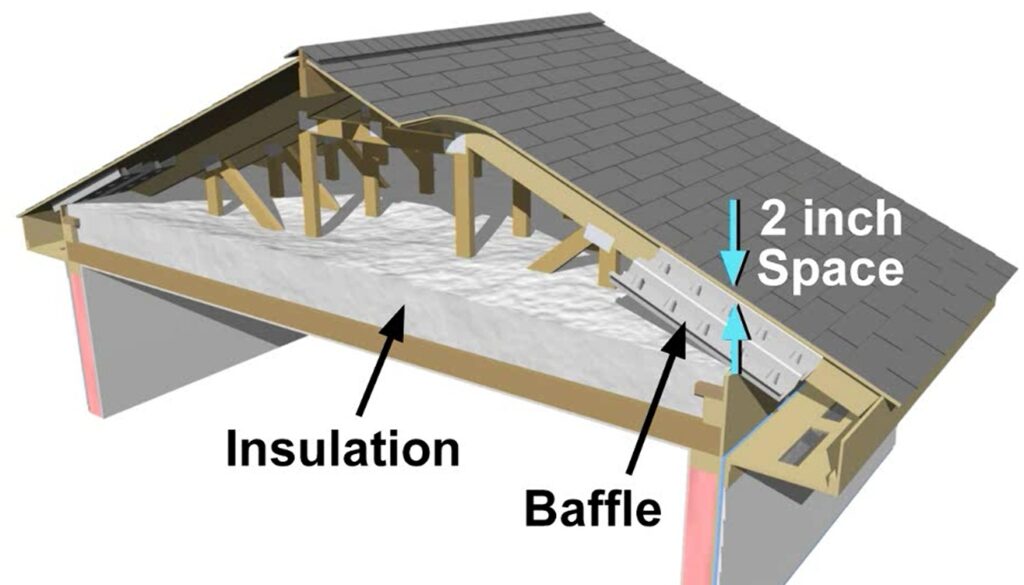
- Fit snugly: Place the first batt at the end of a joist bay, pushing it down to sit flush with the plasterboard ceiling. Make sure it fits snugly against the joist on both sides, with no gaps.
- Cut to size: When you reach a joist bay that is shorter than a full batt, use your utility knife to cut the batt to the correct length. To do this, compress the batt on a scrap piece of plywood and cut it with a sharp knife.
- Work methodically: Start at the furthest point from your access hatch and work your way back. This ensures you don’t have to step over installed insulation.
Expert Tip: According to Matt Stone, a local building consultant, “The key to effective insulation is avoiding gaps. Even small gaps can create a thermal bridge, allowing heat to escape. Take your time to get a tight fit around pipes, wires, and other obstacles.”
4. Insulate Around Obstacles and Finish Up
The final step is to handle the tricky parts and ensure your installation is complete and effective.
Actionable Steps:
- Work around pipes and wiring: Do not squash or compress the insulation around pipes or electrical wiring. Cut the batts to fit around them, ensuring the insulation remains at its full thickness.
- Don’t cover downlights: Never install insulation over recessed downlights or other heat-generating fixtures. These require a safety clearance to prevent a fire hazard. Use fire-rated downlight covers or leave a 50mm air gap around them.
- Check for gaps: Once all the batts are in place, stand back and visually inspect the entire area. Look for any compressed sections or small gaps, and adjust the batts as needed.
Cost Considerations: How much does roof insulation cost? The price depends on the R-value and material. On average, you can expect to pay between $20 to $40 per square metre for high-quality batts. For our example, Sarah’s 80 square metre project cost roughly $2,000 in materials. The savings on her first summer’s energy bills will quickly start to recoup that investment.
Takeaways
- Plan and Prepare: Choose the right R-value and materials for your climate and space. Always prioritise safety with the right gear.
- Fit Tightly, Don’t Compress: The secret to a good installation is a snug fit between joists without squashing the material. Gaps and compression reduce effectiveness.
- Mind the Obstacles: Be meticulous when cutting around obstacles like wiring and especially downlights to prevent fire hazards.