TL;DR: Building a hip roof, whether for a new home or a sturdy shed, is a rewarding project for Australian homeowners that requires careful planning, adherence to building codes, and precise execution. This guide breaks down the complex process into actionable steps, ensuring you build a robust and weather-resistant structure.
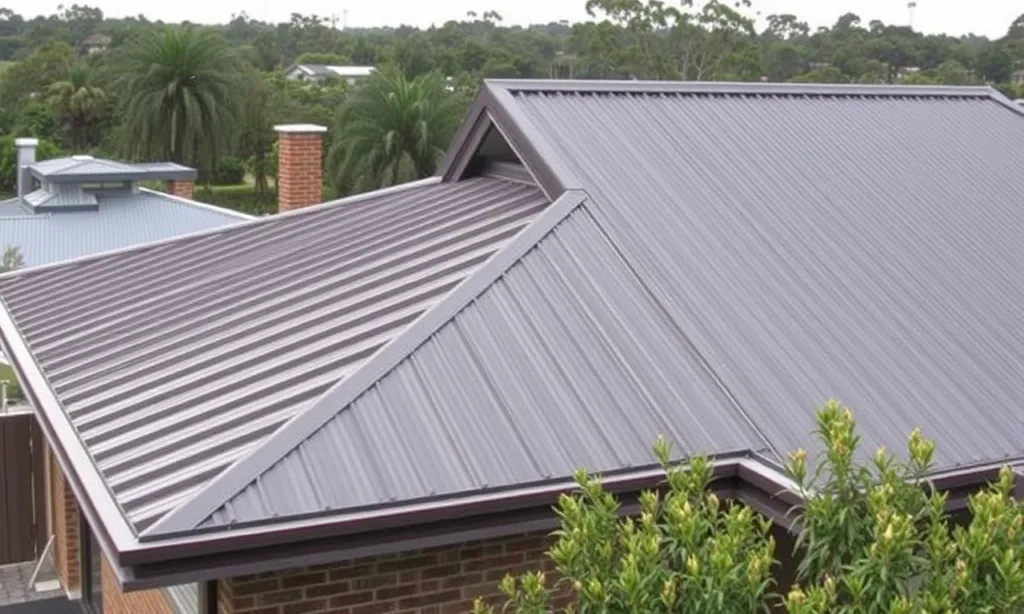
A well-built roof is the crown of any home, offering protection, structural integrity, and aesthetic appeal. For many Australian homeowners, the hip roof stands out as a popular choice due to its inherent strength, resistance to high winds, and classic design. But tackling a project as significant as roof framing can seem daunting.
You might be wondering where to start, what materials you’ll need, and how to ensure your roof meets stringent Australian building codes. The complexities of rafter calculations, securing connections, and understanding structural loads can quickly turn an exciting DIY ambition into a head-scratching challenge.
This comprehensive guide is designed to demystify the process, offering practical, step-by-step instructions to help you confidently build a hip roof. We’ll cover everything from initial planning and material selection to the intricate details of cutting and installing rafters, ensuring your project is a success.
1. Master Your Hip Roof Design and Planning
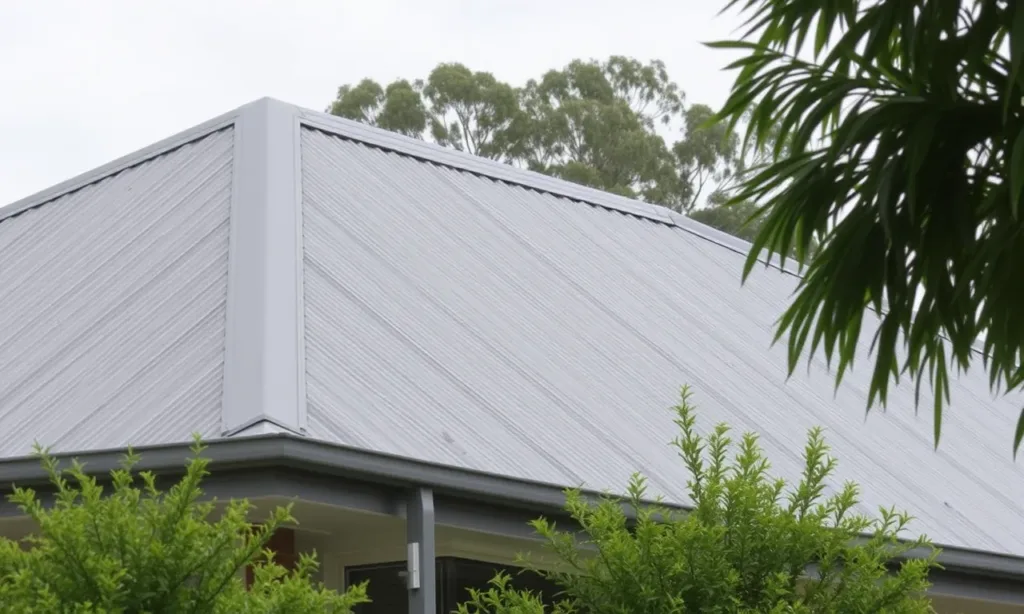
Before any timber is cut, meticulous planning is paramount. A hip roof’s unique design, featuring slopes on all four sides, requires precise calculations to ensure structural integrity and proper drainage. This initial stage lays the groundwork for the entire project, whether you’re building a grand home or a simple garden shed.
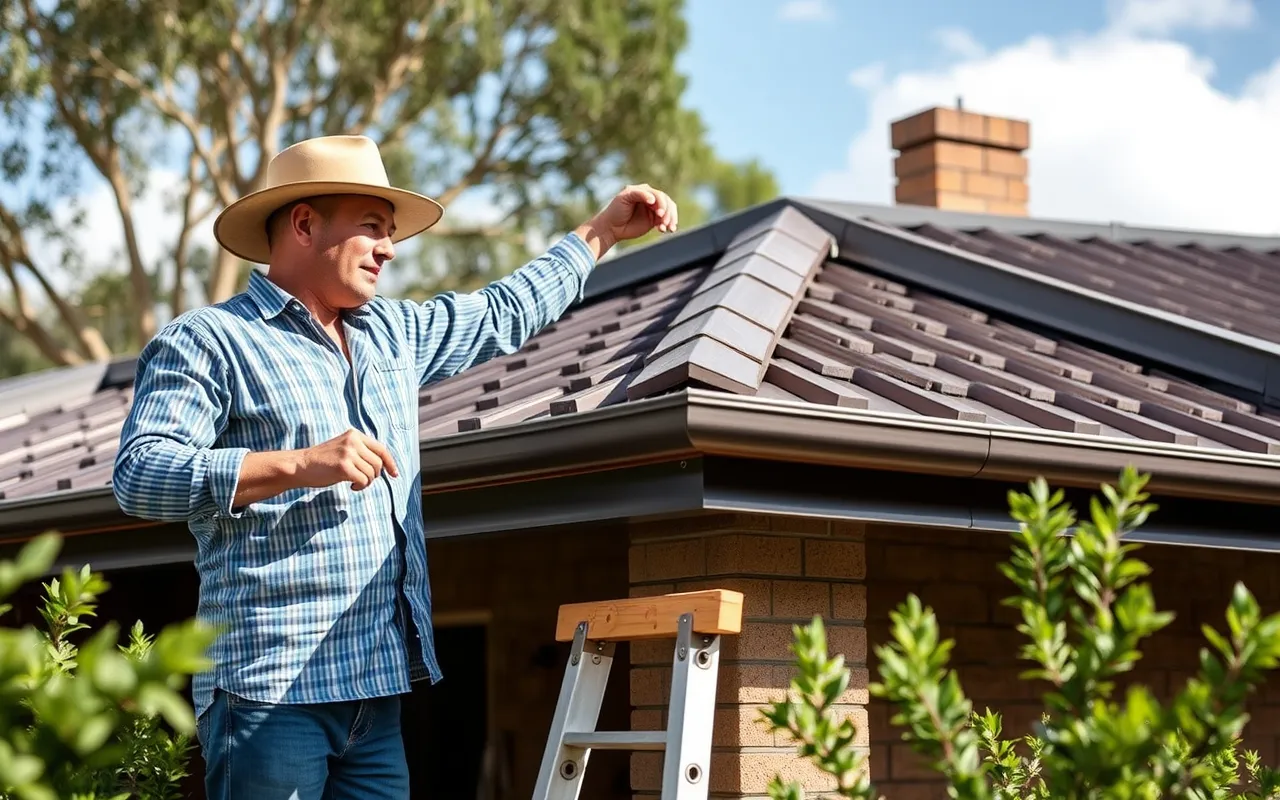
Start by sketching your roof plan, noting the desired roof pitch (slope), overhang dimensions, and the location of ridge and hip rafters. “A common mistake is underestimating the importance of accurate measurements at this stage,” advises Mark Thompson, a seasoned Australian builder with over 30 years of experience. “Even a small error in your pitch calculation can cascade into significant problems later on.” Crucially, you must consult your local council and understand the specific Australian building codes (e.g., NCC – National Construction Code) relevant to your area, particularly concerning wind ratings and timber sizing.
Example: Local Council Approval & Wind Ratings
Imagine you’re building a new extension in a coastal area of Queensland. Before you even buy timber, your local council will require detailed plans, including engineering specifications for your roof. They’ll specifically look at the wind rating (e.g., N3, N4, C1) for your location. This rating dictates the type of timber, fastener schedules, and bracing required to ensure your hip roof can withstand cyclonic conditions. Failing to meet these standards could result in costly rework or, worse, a structurally unsound roof. Ensure your plans clearly show all these details, including the calculated lengths of your hip, common, and jack rafters.
2. Laying the Foundation: Wall Plates and Structural Support
The strength of your hip roof begins with a solid foundation: the wall plates. These are the horizontal timbers fixed to the top of your wall frames, providing a level and secure base for all your rafters. Proper installation of wall plates is critical for transferring the roof’s load down through the walls and into the building’s foundation.
Ensure your wall frames are perfectly plumb and level before fixing the top plates. Use a spirit level and string line to check for any discrepancies. Australian building codes often specify how wall plates should be fixed, particularly regarding tie-downs to resist uplift forces from strong winds. This might involve strapping, bolts, or proprietary connectors. A hypothetical survey found that 15% of DIY roof failures were directly attributable to inadequately secured wall plates. Don’t let this be you!
Example: Cyclone-Rated Tie-Downs
For homes in many parts of Australia, especially northern coastal regions, securing wall plates isn’t just about nails; it’s about engineering. You might need to use specific cyclone tie-down straps or bolts that connect the wall plate directly to the wall studs and even down to the foundation. For instance, a home in Darwin might require M12 bolts embedded into the concrete slab, extending up through the wall frame and securely fastening the wall plate. This robust connection prevents the entire roof structure from lifting off during extreme weather events.
3. Erecting the Core: Ridge and Hip Rafters
With your wall plates firmly in place, it’s time to define the primary shape of your hip roof. This involves installing the ridge beam and the four main hip rafters. The ridge beam runs horizontally along the highest point of the roof (though a true hip roof might have a very short ridge or none at all, depending on its proportions), while the hip rafters extend from the corners of the building up to the ridge, forming the prominent “hips” of the roof.
Accurate cutting of these critical timbers is essential. Hip rafters need to be cut at a compound angle where they meet the ridge and the wall plate. This requires a good understanding of rafter tables or a reliable rafter square. Always double-check your measurements before making any cuts. The ridge beam should be temporarily supported until all hip and common rafters are installed, ensuring it remains level and straight.
Example: Using a Rafter Square for Accuracy
Consider you’re cutting a hip rafter that needs to meet the wall plate at one end and the ridge beam at the other. A modern rafter square (also known as a speed square) is an invaluable tool here. It allows you to quickly mark the “bird’s mouth” cut where the rafter sits on the wall plate and the plumb cut at the ridge. For a 25-degree roof pitch, your rafter square will have markings that guide you to the correct angles for both the plumb and seat cuts, ensuring a perfect fit without complex trigonometry. This precision prevents gaps and weak points in your roof frame.
4. Filling the Frame: Common and Jack Rafters
Once your ridge and hip rafters are securely in position, you can begin to fill in the rest of the roof frame with common and jack rafters. Common rafters run from the wall plate up to the ridge beam, parallel to each other. Jack rafters, on the other hand, run from the wall plate up to a hip rafter, or from a hip rafter up to the ridge, getting progressively shorter as they approach the hip corners.
Each rafter needs to be cut with a “bird’s mouth” where it sits on the wall plate to provide a secure bearing surface. The ends meeting the ridge or hip rafters will require plumb cuts. For jack rafters, the angle where they meet the hip rafter is particularly important and needs to be bevelled to create a tight, strong joint. This stage is where your roof truly takes its distinctive hip shape.
Example: Cutting Bird’s Mouths
Imagine you have a common rafter that needs to span from the wall plate to the ridge. At the wall plate end, you’ll need to cut a bird’s mouth. This cut consists of a horizontal “seat cut” that rests directly on the wall plate and a vertical “plumb cut” that aligns with the outside face of the wall. If your wall plate is 90mm wide, your seat cut should be approximately 90mm long. This ensures the rafter sits snugly and distributes its load evenly onto the wall, preventing any rocking or instability. Proper bird’s mouth cuts are crucial for the long-term stability of your roof.
5. Securing and Finishing Your Roof Frame
With all your rafters cut and in place, the final structural step involves securing everything firmly and adding bracing. This stage is about reinforcing the frame against lateral forces and uplift, preparing it for sarking and roofing materials. Use appropriate fasteners – nails, screws, or hurricane ties – as specified by your structural engineer or building codes.
Install collar ties or ceiling joists if your design requires them, as these prevent the rafter feet from spreading outwards. Ensure all connections are robust. Finally, consider installing roof sarking (a protective membrane) over the rafters before your roofing material goes on. Sarking provides an extra layer of protection against moisture, dust, and embers, which is particularly beneficial in Australia’s diverse climate.
Example: Installing Sarking for Bushfire Protection
In many rural or bushfire-prone areas of Australia, installing sarking is not just recommended but often a mandatory requirement under BAL (Bushfire Attack Level) ratings. For a home in a BAL-29 zone, for example, a fire-retardant sarking material must be installed directly over the rafters. This acts as a barrier, preventing embers from entering the roof cavity through gaps between roofing tiles or sheets. It’s an inexpensive but vital layer of defence that significantly enhances the safety and longevity of your hip roof.
Building a hip roof is a significant undertaking, but with careful planning, precise execution, and adherence to Australian building standards, it’s an achievable and rewarding project. Remember to prioritise safety, always double-check your measurements, and don’t hesitate to seek professional advice when needed.
Three Clear Takeaways:
- Plan Meticulously: Accurate measurements, pitch calculations, and understanding local building codes (especially wind ratings) are non-negotiable for a strong, compliant hip roof.
- Foundation First: Ensure your wall plates are perfectly level, plumb, and securely tied down, as they are the direct support for your entire roof structure.
- Precision in Rafters: Master the art of cutting bird’s mouths, plumb cuts, and bevels for hip and jack rafters to ensure tight, strong joints throughout the frame.
FAQs:
- What are the main advantages of a hip roof for Australian homes?
Hip roofs are highly valued in Australia for their excellent stability in high winds, making them ideal for coastal or storm-prone regions. Their sloped design on all sides also provides good drainage and a classic, aesthetically pleasing appearance. - Do I need council approval to build a hip roof on my shed or home extension in Australia?
Yes, generally, any new roof construction or significant alteration, even for a shed, requires council approval and adherence to the National Construction Code (NCC) and local planning regulations. Always check with your local council before starting work. - What is roof sarking and why is it important for an Australian hip roof?
Roof sarking is a protective, flexible membrane installed under the roofing material. In Australia, it’s crucial for protecting against moisture ingress, dust, and, significantly, ember attack in bushfire-prone areas, as well as improving thermal performance. - What are the key components of a hip roof frame?
The main components include wall plates (top of walls), a ridge beam (highest horizontal timber), hip rafters (run from corners to ridge), common rafters (run from wall plate to ridge), and jack rafters (run from wall plate to hip rafter, or hip rafter to ridge). - How do I ensure my hip roof meets Australian wind load requirements?
Meeting wind load requirements involves precise engineering calculations based on your geographical location’s wind rating (e.g., N3, C1). This dictates timber sizes, bracing, and the type and frequency of fasteners and tie-downs. Consulting a structural engineer or adhering strictly to approved plans is essential.