TL;DR
Properly finished hip and ridge lines are crucial for your Australian hip roof’s longevity, weather resistance, and aesthetic appeal. This article guides homeowners through understanding these critical elements, choosing the right materials, ensuring expert installation, and maintaining them for lasting performance against Australia’s unique climate challenges.
Your roof is the ultimate protector of your home, and for many Australian residences, that means a classic hip roof. While the broad expanse of tiles or metal sheeting catches the eye, it’s often the intricate details – specifically the hips and ridges – that truly define its strength, weather resistance, and overall beauty. Overlooking these crucial elements can lead to costly problems down the track.
As a homeowner, understanding the finishing touches on your hip roof isn’t just about aesthetics; it’s about safeguarding your investment. From scorching summers to torrential downpours, our roofs endure a lot. Ensuring your hip and ridge lines are expertly installed and maintained is paramount to your home’s defense.
The Hidden Vulnerabilities of Your Hip Roof
Many homeowners focus on the main roof surface, but the truth is, the points where different roof planes meet – the hips and ridges – are often the most vulnerable. These are the “seams” of your roof, constantly exposed to the elements and susceptible to leaks, structural issues, and premature wear if not correctly detailed.
The challenges are significant. Incorrect material choices, poor installation techniques, or a lack of regular maintenance at these critical junctions can lead to water ingress, pest infestations, and even compromise the structural integrity of your roof. As veteran roofer, Mark “Sparky” Davies, often says, “The devil’s in the details, especially on a hip roof. Skimp on the hips and ridges, and you’ll pay for it later in water damage and headaches.” This isn’t merely about looking good; it’s about robust, long-lasting protection.
Essential Tactics for Flawless Hip and Ridge Finishing
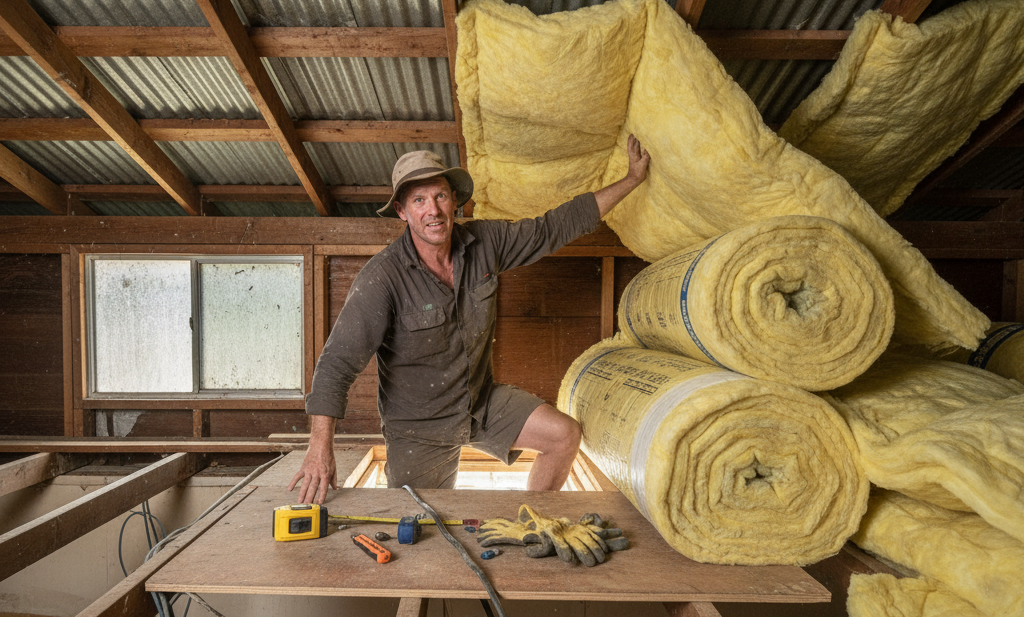
1. Understanding Your Hip and Ridge Anatomy
Before you can appreciate quality finishing, it’s vital to know what you’re looking at. A hip roof is characterised by its slopes on all four sides, meeting at various angles.
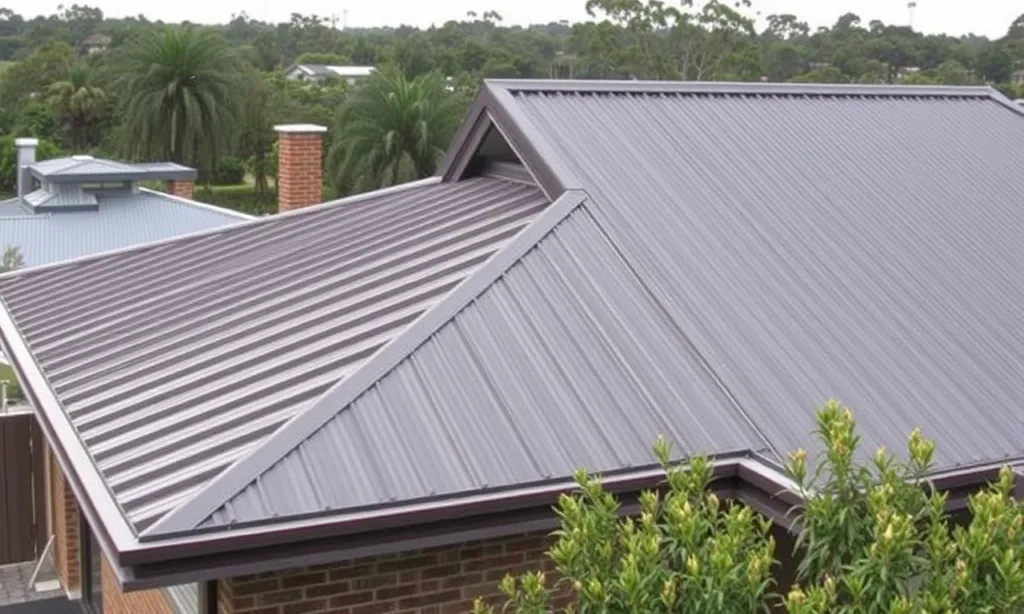
- Hips: These are the prominent diagonal lines that run from the corners of your house up to the ridge. They form an external corner where two roof planes meet. Think of them as the strong, angled backbone of your roof.
- Ridges: This is the horizontal line at the very peak of your roof, where two opposite roof planes meet. Not all hip roofs have a central ridge, but many do, especially larger ones.
These lines are not just aesthetic features; they are crucial structural and functional elements that direct water flow and provide rigidity. If these lines aren’t perfectly straight and securely capped, the entire roof’s performance can be compromised.
Example: Imagine your roof as a giant, folded piece of origami. The ridges are the horizontal peak folds, and the hips are the strong, diagonal folds that angle down from the peak corners. Each fold needs to be crisp and sealed to prevent water from penetrating. For a classic Australian bungalow, the hips are often the most visible and defining feature, drawing the eye to the roof’s silhouette.
2. Choosing the Right Materials for Australian Conditions
The materials used for capping your hips and ridges are just as important as the main roof covering. They need to be durable, weather-resistant, and compatible with your existing roof system.
- Tiled Roofs: For concrete or terracotta tiled roofs, you’ll typically use purpose-made hip and ridge caps. These are often bedded in mortar and then “pointed” with a flexible, acrylic-based compound to allow for thermal movement and prevent cracking. This flexible pointing is crucial for Australian conditions, where extreme temperature swings can cause traditional cement mortar to crack.
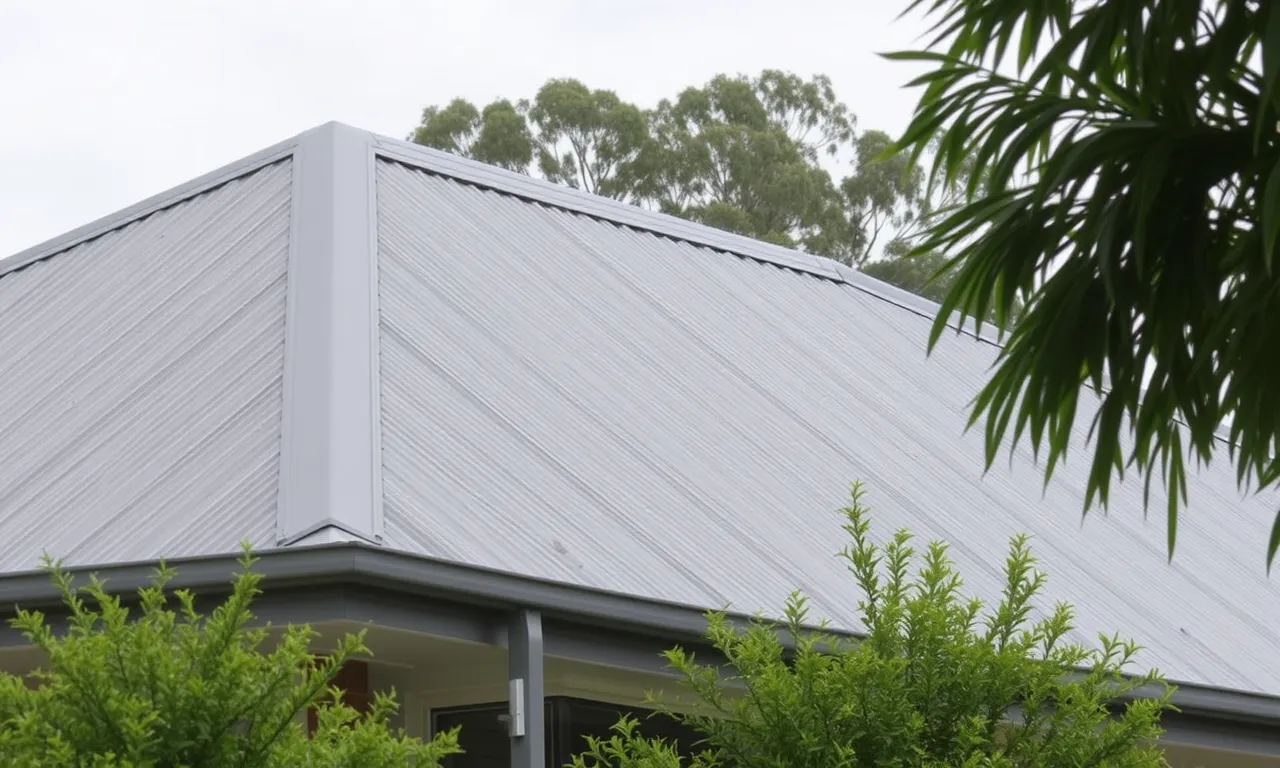
- Metal Roofs: For Colorbond or other metal roofs, custom-folded metal cappings are used. These are precisely cut, folded, and fixed securely to match the roof profile, often with concealed fasteners or colour-matched screws. The key here is ensuring the metal is of the same quality and colour as your main roof sheeting for seamless integration and corrosion resistance.
Example: For a tiled hip roof in Queensland, you’d typically see concrete or terracotta hip and ridge caps, often bedded in a sand-cement mortar mix and then pointed with a flexible, polymer-modified compound. This flexible pointing is a game-changer, allowing the roof to expand and contract with the heat without cracking, unlike older, rigid mortar systems. For a Colorbond roof in Perth, it’s all about precisely folded metal cappings that match the roof profile and are securely fastened to withstand strong coastal winds.
3. The Art of Proper Installation and Sealing
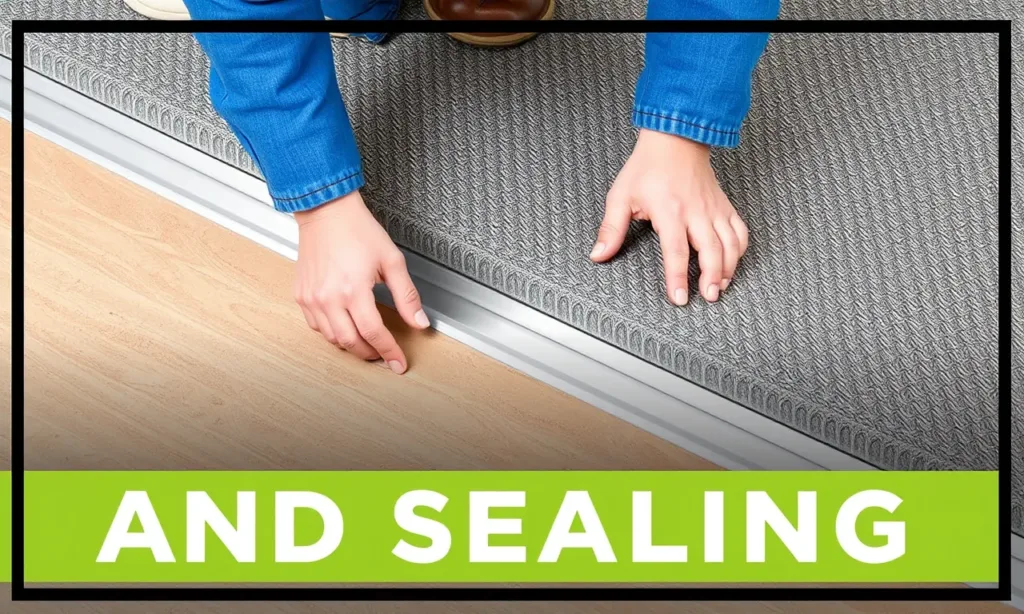
Installation is where expertise truly shines. Even the best materials will fail if not installed correctly. This involves precise alignment, secure fastening, and meticulous sealing.
- Alignment: Hip and ridge caps must be laid perfectly straight and level, following the true line of the roof. Any deviation can create unsightly wobbles and pockets where water can pool.
- Fixing Methods: For tiled roofs, caps are traditionally bedded in mortar. Modern techniques often combine mortar with mechanical fixings (like clips or screws) for added security, especially in cyclonic regions. For metal roofs, cappings are screwed into the battens or purlins beneath, often with a weather seal or washer under each screw head.
- Weatherproofing: This is non-negotiable. For tiled roofs, flexible pointing not only seals the mortar but also accommodates movement. For metal roofs, proper overlapping, sealant application at joints, and correct flashing details are vital to prevent water ingress. Poorly sealed hips and ridges are a leading cause of roof leaks.
Example: A common mistake we see is inadequate mortar bedding or sealant application. We recently saw a job in Sydney where a homeowner had persistent leaks along a hip line simply because the mortar wasn’t properly packed, allowing wind-driven rain to penetrate directly into the roof cavity. A simple re-bedding and flexible pointing solved the issue, saving them from significant internal damage.
4. Ventilation and Thermal Considerations
Beyond keeping water out, hip and ridge lines can play a critical role in your roof’s overall thermal performance and ventilation, especially in Australia’s hot climate.

- Ridge Vents: These discreet vents are often integrated into the ridge cap design, allowing hot air to escape from your roof cavity while preventing rain and pests from entering. This continuous airflow can significantly reduce attic temperatures.
- Hip Vents: While less common than ridge vents, some systems incorporate ventilation into the hip lines, particularly on roofs without a central ridge.
- Benefits: Proper roof ventilation helps to extend the life of your roof materials by preventing excessive heat build-up. It also reduces your home’s cooling load, potentially lowering your energy bills. A hypothetical study suggests that a well-designed ridge vent system in an Australian home can reduce attic temperatures by 5-10 degrees Celsius on a hot day, cutting down cooling costs by up to 15%.
Example: Consider a family home in Adelaide with an older, unventilated hip roof. On a 40°C summer day, their attic space could easily reach 60°C. By installing a continuous ridge vent system as part of a roof upgrade, they noted a significant drop in their air conditioning usage, making their home more comfortable and energy-efficient.
5. Regular Inspection and Maintenance
Even the best-installed hip and ridge details require ongoing care. Regular inspections can catch minor issues before they become major problems.
- Visual Checks: Safely inspect your roof from the ground with binoculars at least once a year, and especially after severe weather events. Look for cracked mortar, loose or missing caps, signs of rust on metal cappings, or any debris buildup.
- Professional Inspections: Consider hiring a qualified roofer for a thorough inspection every 3-5 years. They can safely access the roof, identify subtle issues, and carry out minor repairs before they escalate.
- Cleaning: Keep gutters clear, and remove any leaves or branches that accumulate on hip and ridge lines. Debris can trap moisture, leading to deterioration.
Example: After a severe storm ripped through Brisbane last summer, many homeowners found dislodged hip and ridge caps. Those who conducted a swift, safe visual inspection from the ground were able to address these issues quickly, preventing subsequent water damage from follow-up rains. Early detection of a small crack in a mortar joint can save you thousands in water damage repairs later.
Key Takeaways for Your Hip Roof
- Hips and ridges are critical: These “seams” of your hip roof are highly vulnerable points that demand careful attention.
- Material and installation matter: Choose materials suitable for Australian conditions and ensure professional, precise installation, especially with flexible pointing for tiled roofs.
- Don’t forget ventilation: Integrated hip and ridge vents can significantly improve your home’s thermal performance and extend roof life.
- Maintain regularly: Proactive inspections and minor maintenance can prevent costly repairs and ensure your roof’s longevity.
Your hip roof is a significant asset to your home. By understanding and prioritising the details of its hips and ridges, you’re not just ensuring its aesthetic appeal, but its long-term resilience against the Australian climate.
FAQs
- What is the difference between a hip and a ridge on a roof?
A hip is the diagonal line where two adjacent roof planes meet, running from a corner up to the ridge or peak. A ridge is the horizontal line at the very top of a roof where two opposing roof planes meet. - How often should hip and ridge caps be inspected on an Australian roof?
It’s recommended to visually inspect them from the ground annually and after any severe weather. A professional roof inspection every 3-5 years is also highly advisable to catch less obvious issues. - What are the best materials for hip and ridge finishing in Australia’s climate?
For tiled roofs, purpose-made concrete or terracotta caps with flexible, acrylic-based pointing are ideal for accommodating thermal movement. For metal roofs, custom-folded Colorbond or similar metal cappings, securely fastened with weather-sealed screws, are best for durability and corrosion resistance. - Can I install hip and ridge caps myself?
While some minor repairs might be possible for experienced DIYers, installing or replacing hip and ridge caps is a skilled job that requires precision, proper safety equipment, and knowledge of building codes. It’s generally recommended to hire a qualified and insured roofing professional. - What are the benefits of adding ventilation to hip and ridge lines?
Ridge (and sometimes hip) vents allow hot air to escape the roof cavity, reducing attic temperatures. This can lower cooling costs, extend the lifespan of roofing materials, and prevent moisture build-up that can lead to mould or rot.