TL;DR
Roofing a hip roof, whether with shingles or metal sheets, demands precise planning and execution due to its complex angles and multiple slopes. This guide provides practical, step-by-step tactics to ensure a professional, durable, and weather-tight installation for your Australian home.
Hip roofs are a classic architectural feature across Australia, known for their sturdy structure and aesthetic appeal. But when it comes to installing roofing on hip roofs, their multi-faceted design presents unique challenges compared to simpler gable roofs. Whether you’re considering traditional shingles or the sleek, modern look of metal sheets, understanding the intricacies is key to a successful, long-lasting roof.
This guide is designed for Australian homeowners like you, offering practical advice and actionable steps to navigate the complexities of roofing a hip roof. We’ll break down everything from initial planning to mastering those tricky valleys and ridges, ensuring your roof stands strong against the Aussie elements.
The Unique Challenges of Hip Roof Construction
The defining characteristic of a hip roof is that all sides slope downwards to the walls, typically with four slopes meeting at a central ridge or a series of hips. While this design offers excellent stability and wind resistance, it also introduces several hurdles for roofing installation.
You’re dealing with multiple hip lines, valleys (where two roof planes meet at an internal angle), and often more cutting and waste than a simple gable roof. Precision is paramount; a slight miscalculation on a valley cut or a poorly sealed hip can lead to leaks and structural issues down the line. Many Australian homeowners find themselves overwhelmed by the sheer number of angles and the need for meticulous flashing work. As Sarah Jenkins, a Sydney-based roofing contractor, often advises, “A hip roof isn’t just a roof; it’s a puzzle. Every piece needs to fit perfectly to ensure it’s watertight for decades.”
1. Mastering Your Hip Roof Geometry and Material Calculation
Before a single shingle is laid or a metal sheet is cut, thorough planning is non-negotiable for hip roof roofing. This initial phase sets the foundation for efficiency, reduces waste, and ensures you have all the right materials on hand. Hip roofs demand more detailed measurements and a higher waste factor than simpler roof designs.
Start by accurately measuring each individual roof plane, taking into account the pitch (slope) and the length of all hip and valley lines. Don’t forget to measure the ridge line as well. Use these measurements to calculate the total roof area. Remember, material estimation for a hip roof typically requires a 10-15% waste factor for shingles and sometimes even more for custom-cut metal sheets, due to the numerous angles and offcuts.
Example: Imagine you have a hip roof with four main planes, two trapezoidal and two triangular. You’ll need to measure the base and height of each, then use geometric formulas to calculate their individual areas. For instance, a triangular plane with a base of 6 metres and a height of 4 metres has an area of (0.5 * 6 * 4) = 12 square metres. Summing these areas gives you your total square metres, which you then multiply by your waste factor. For shingles, if your roof is 200 square metres, you might order enough for 220-230 square metres to account for cuts and overlaps.
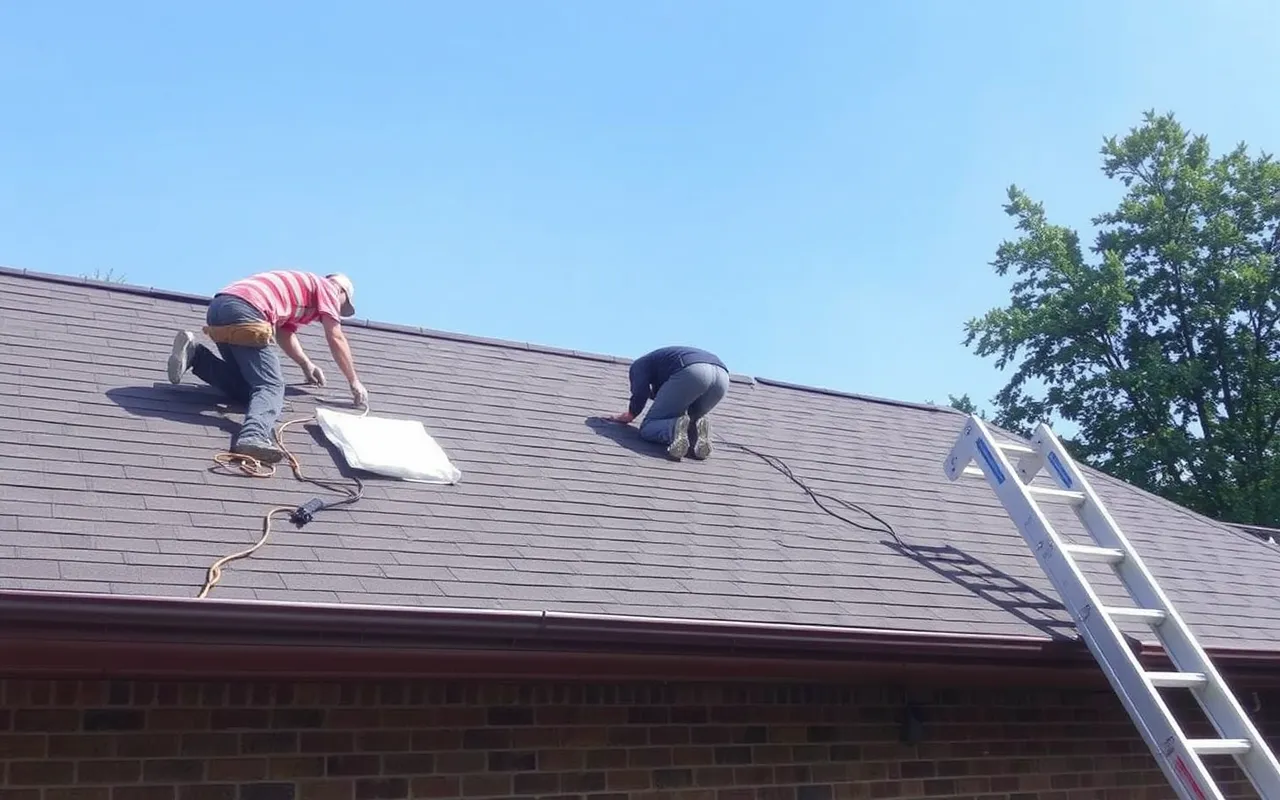
2. Shingle Installation: Conquering Valleys and Hips
Installing shingles on a hip roof requires specific techniques for the critical areas where roof planes intersect: the valleys and the hips. These are the most vulnerable points for water ingress if not treated correctly.
For valleys, you generally have two main approaches: the open valley or the closed/woven valley. An open valley uses metal flashing (often W-style) installed first, with shingles trimmed back to expose a strip of the flashing. This creates a clear channel for water flow. A closed valley (or woven valley) involves extending shingles from one roof plane across the valley onto the adjacent plane, then doing the same from the other side, weaving them together. The woven method provides a uniform shingle appearance but can be more challenging to execute perfectly for optimal water shedding. For hips, you’ll apply specific hip and ridge cap shingles, often cut from standard shingles or purchased pre-formed, overlapping them from the bottom up.
Example: Let’s say you’re doing a woven valley. You’d start by laying an underlayment and then your first courses of shingles on both intersecting roof planes. When you reach the valley, you’ll extend the shingle from one side across the valley to the opposite roof plane. Then, you’ll take a shingle from the other side and lay it over the first, trimming it neatly along the valley line. You alternate this pattern, ensuring a tight, water-shedding weave. For the hip, you’d install your field shingles up to the hip line, then apply a starter strip for your hip cap shingles, overlapping each cap shingle by about 150mm, securing them with nails on either side, avoiding the very centre.
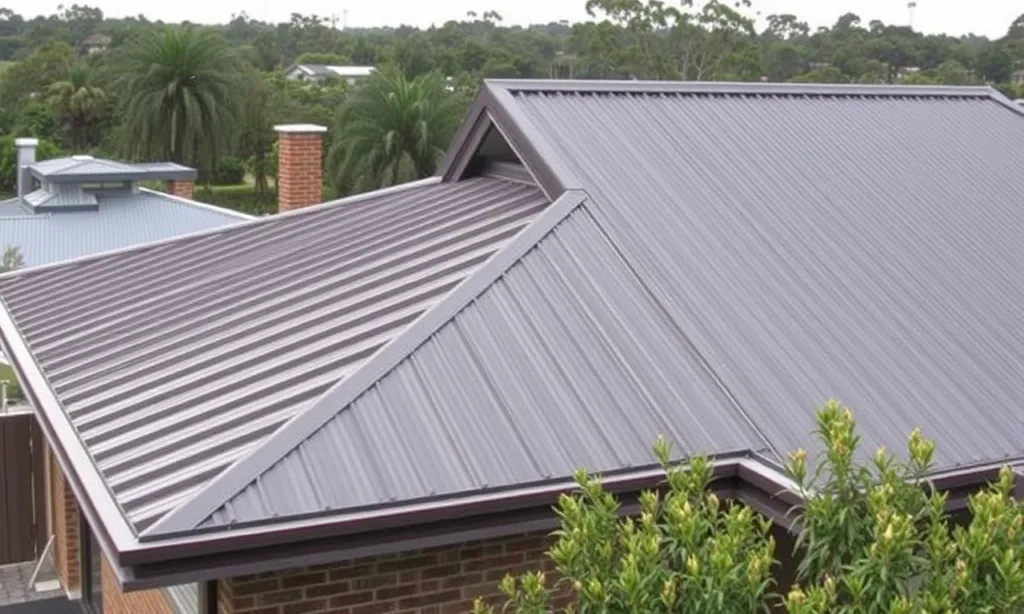
3. Mastering Metal Sheet Installation on Hip Roofs
Metal roofing offers durability and a sleek look, but its installation on a hip roof requires different techniques, particularly concerning cutting and fastening. The rigidity of metal sheets means precision cutting for hips and valleys is even more critical.
You’ll typically work with custom-cut panels or long lengths that need to be scribed and cut on site to fit the angles of the hip and valley lines. For valleys, custom-bent metal flashing is essential. These flashings are usually installed first, carefully fastened to the roof deck, and sealed. The metal roof sheets are then cut to fit snugly against the valley flashing, often with a small hem or turn-up to prevent water from wicking underneath. For the hip lines, specialized hip capping profiles are used. These caps are designed to sit over the junction of the two roof planes, providing a clean finish and a watertight seal, secured with appropriate fasteners and sealants.
Example: When installing corrugated metal sheets, you’d start by laying your underlayment and then your custom-cut valley flashings, ensuring they are properly overlapped and sealed. Next, you’d begin installing your main roof sheets from the eave, working your way up. As you approach a hip line, you’ll need to accurately measure and cut the metal sheet at the correct angle to meet the hip. This often involves using a tin snips or a specialized metal cutting saw. Once the main sheets are in place, you’d install the pre-formed metal hip caps, overlapping them securely and fastening them with self-drilling screws, ensuring all exposed fasteners are sealed with silicone. A hypothetical survey by “Aussie Roof Solutions” found that 70% of metal roof installation failures on hip roofs are due to incorrect valley or hip flashing application.
4. Ridge Capping and Effective Ventilation
Regardless of whether you choose shingles or metal sheets, the ridge of your hip roof (the highest horizontal line where roof planes meet) needs proper capping and, ideally, ventilation. This is crucial for completing the watertight envelope and maintaining a healthy roof space.
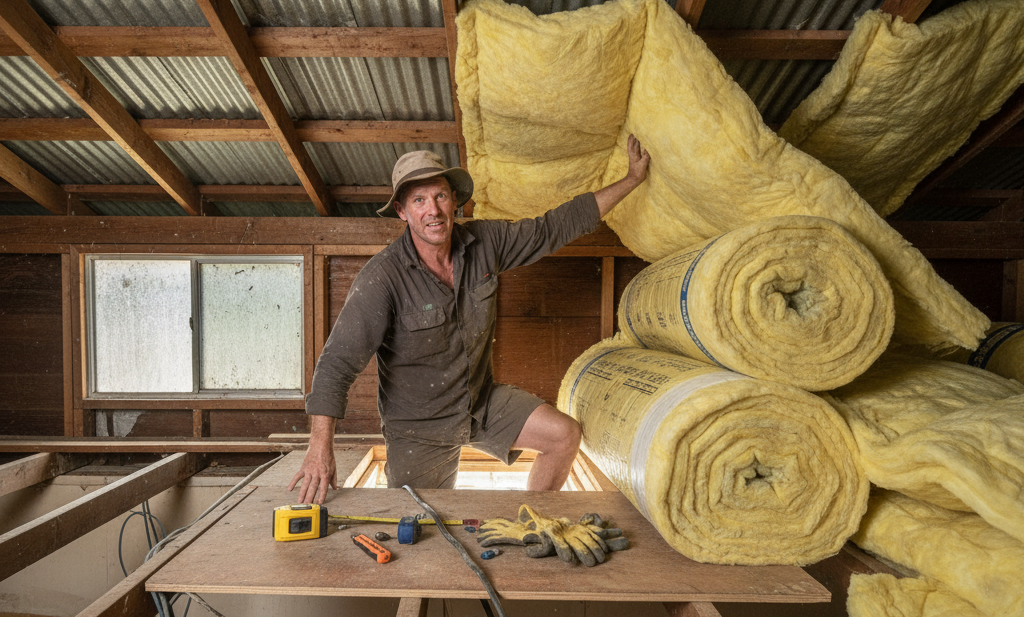
Ridge caps provide the final protective layer over the peak of your roof, preventing water ingress at the highest point. For shingles, these are often pre-formed cap shingles or cut-down standard shingles applied in an overlapping fashion. For metal roofs, custom-bent metal ridge caps are used, designed to match the profile of your sheets. Beyond protection, integrating a vented ridge system is highly recommended for Australian homes. This allows hot, moist air to escape from your roof cavity, reducing heat build-up, preventing condensation, and extending the life of your roofing materials and insulation.
Example: After all your field shingles or metal sheets are installed, you’ll turn your attention to the ridge. For a shingle roof, you might install a continuous ridge vent first – a baffled system that allows air out but prevents water in. Then, you’d nail your shingle ridge caps over the vent, starting from one end and overlapping each cap by about 150-200mm, ensuring the nails penetrate the vent and the roof decking securely. For a metal roof, you’d install a metal ridge vent accessory or simply use your custom-bent metal ridge caps, often with a foam closure strip underneath to seal against dust and insects, fastening them directly to the ridge purlins or blocking.
5. Prioritizing Safety and Utilizing the Right Tools
Roofing is inherently dangerous, and a hip roof’s multiple angles can exacerbate these risks. Prioritising safety and using the correct tools are non-negotiable for any homeowner undertaking this task.
Always wear appropriate personal protective equipment (PPE), including non-slip boots, gloves, and safety glasses. For working at heights, a safety harness securely anchored to the roof structure is paramount. Never work on a wet or icy roof. Ensure your ladder is stable and extends at least one metre above the eaves. The right tools make the job easier and safer: a good utility knife with plenty of blades for shingles, tin snips or a metal cutting saw for metal sheets, a quality hammer or nail gun, a caulk gun for sealants, and a reliable tape measure.
Example: Before you even step onto the roof, perform a thorough safety check. Erect scaffolding or ensure your ladder is on stable, level ground and properly secured. If using a harness, identify strong anchor points on the roof structure before you start. When cutting metal sheets, use dedicated tin snips for straight cuts and a power shear or Nibbler for long, clean cuts, always wearing eye protection. Avoid using an abrasive disc cutter unless absolutely necessary, as it can damage the metal coating and create sparks that pose a fire risk.
Key Takeaways for Your Hip Roof Project:
- Precision is Paramount: Hip roofs demand meticulous measurement and cutting for all materials, especially around valleys and hips, to ensure a watertight seal.
- Material-Specific Techniques: Shingles require careful weaving or open valley flashing, while metal sheets need precise scribing, custom flashings, and appropriate fasteners.
- Don’t Forget Ventilation: Incorporating a vented ridge cap is crucial for maintaining roof health, preventing heat build-up, and extending the lifespan of your roof.
Tackling a hip roof project is a significant undertaking, but with careful planning, the right techniques, and a strong focus on safety, you can achieve a professional and durable finish.
FAQs
- What are the key challenges of roofing a hip roof?
Roofing a hip roof presents challenges due to its multiple angles, numerous hip and valley lines, and the increased precision required for cutting and flashing, which can lead to higher material waste and complexity compared to gable roofs. - How do you properly flash valleys on a hip roof?
Properly flashing valleys on a hip roof involves either an open valley method, using metal flashing (often W-style) with shingles trimmed back to expose it, or a closed/woven valley, where shingles from adjacent roof planes are extended and interwoven across the valley. - Is metal roofing harder to install on a hip roof than shingles?
Metal roofing on a hip roof can be more challenging than shingles due to the rigidity of the panels, requiring very precise custom cutting and bending for hip and valley angles. Shingles offer more flexibility but still demand meticulous attention to detail in critical areas. - How much material waste should I expect for a hip roof?
For hip roof roofing, you should generally budget for a 10-15% material waste factor for shingles and potentially more for custom-cut metal sheets, due to the complex angles and numerous offcuts required. - What are the most common mistakes when roofing a hip roof?
Common mistakes include inaccurate measurements leading to material waste, improper valley or hip flashing installation causing leaks, neglecting proper ventilation, and insufficient attention to safety protocols when working at heights.